
The article describes how to create a new Agent on the Platform and edit or delete an existing one.
Agent creation
To create a new Agent:
- Register or log in on the Platform (see Registration and authorization on the platform to learn more);
- Create a new project by clicking ADD PROJECT in the upper right corner, or open a project that already exists;

- Create an Agent by clicking ADD AGENT in the upper right corner.
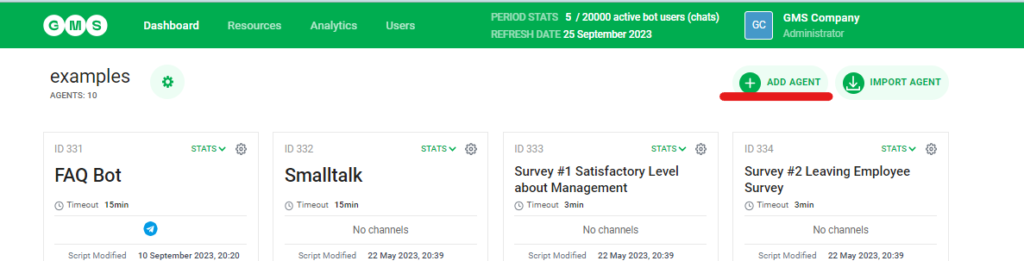
- Once you click ADD AGENT, a dialog box for creating a new agent will appear.
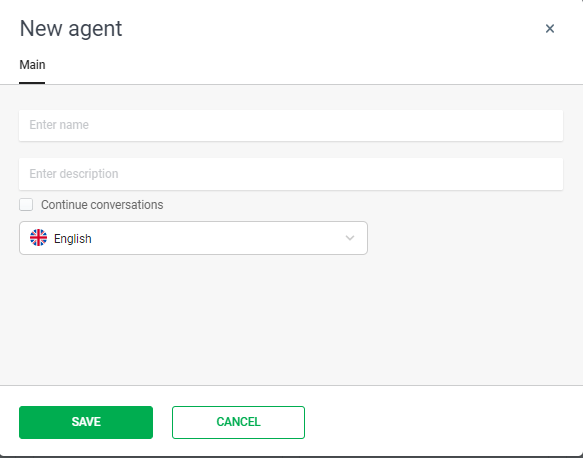
Actions required in the dialog box:
- Enter the Agent’s name in the NAME field;
- Add the Agent’s description in the DESCRIPTION field (optional);
- If necessary, activate the Continue Conversations option by ticking the box next to it. In case you activate this option, the Agent will start a new Dialog with the Bot User from the place where the previous dialog stopped (should be used with caution in case the Bot has complex slots, such as Slot Filling). Otherwise, every new Dialog will start from the beginning of the Scenario after the set timeout period.
- Choose a language for the Agent’s NLU model (the language that will be recognized by the NLU slot) from the drop-down list. Below is a table with the languages currently available for recognition.
Notes: Please note that you will not be able to change the language later. - To complete the process of creating an Agent, click SAVE.
| Language | Designation in the drop-down list | Language code for creating the Agent via Excel |
|---|---|---|
| English | English | en |
| Ukrainian | Українська | uk |
| Portuguese | Português | pt |
| Spanish | Español | es |
| Vietnamese | Tiếng Việt | vi |
| Thai | ภาษาไทย | th |
| Indonesian | Bahasa Indonesian | di |
| Malay | Malay | ms |
| Filipino | Filipino (tagalog) | ti |
| Russian | Русский | ru |
Information contained in the Agent’s box:
The Agent’s box contains the following information:
- Agent ID is a unique identification number that was assigned to this Agent at the moment of its creation.
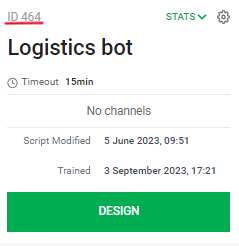
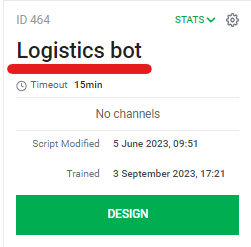
- Agent’s name. It can be edited in the Agent’s settings.
- Agent’s settings.
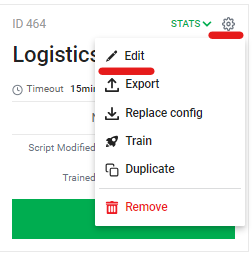
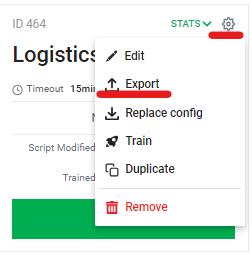
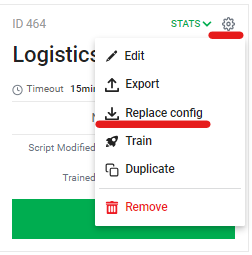
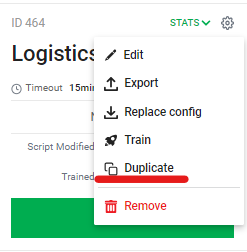
Once you click the settings icon, a drop-down menu with the following options will be displayed:
- Edit: enables editing Agent’s information (its name and description) and connecting the Agent to channels.
- Export: enables exporting the Agent’s configuration file. Once you click the button, the configuration file will start to download (see Export, import and replacement of the Agent’s scenario to learn more).
- Replace config: enables replacing the Agent’s Scenario by another configuration file. It helps to replace the Agent’s Scenario quickly and keep the Agent’s channels.
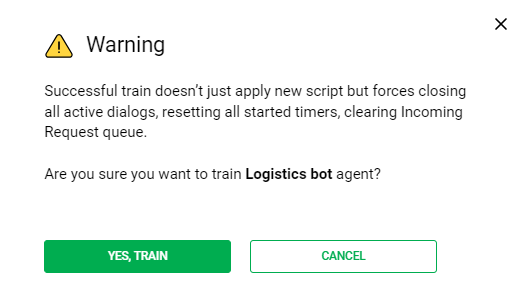
- Train: enables training already done an Agent to check functions.
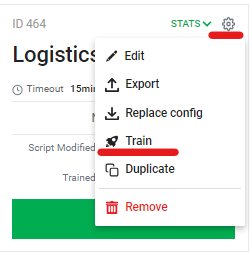
- Once clicking the button, a window will appear asking to confirm the action:
- If validation errors occur, a notification about this will be displayed in the lower right corner.
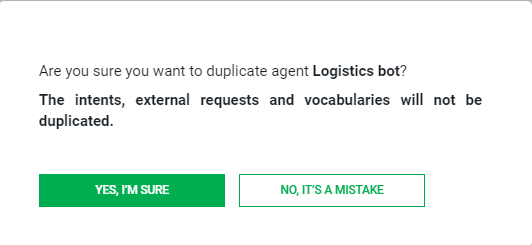
- Duplicate: enables cloning the Agent.
- Once clicking the button, a window will appear asking to confirm the action:
- Remove: enables to delete the Agent.
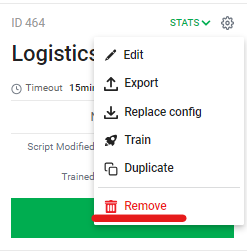
- Once clicking the button, a window will appear asking to confirm the action:
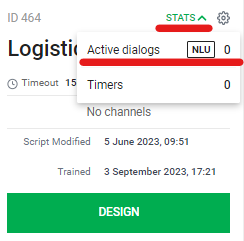
- Stats
Once clicking this button, a menu with the following options will appear:
- Active dialogs: the number of the Agent’s dialogs which are active right now. Active dialogs can have 2 options to display: NLU and empty slot. NLU is displayed, when the Agent uses NLU slot.
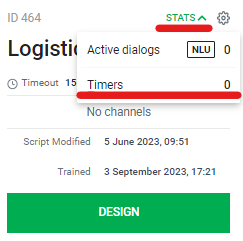
- Timers are the number of timers that are set in all chats of the Agent at this moment by the Timer slot (see Launching of the scenario by a timer | Timer slot to learn more).
- Timeout
Inactivity timeout is the period of time after which the Dialog with the Bot User will be closed if the Bot User does not take any action.
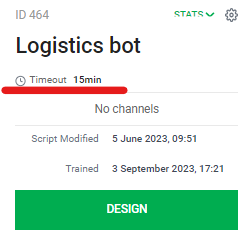
- Agent’s channels are active channels to which this particular Agent is connected.
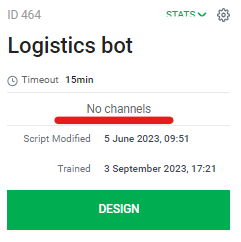
- Script Modified is the date and time when the Agent’s Scenario was last modified (GMT) and the name of the user who introduced these changes.
- Trained is the date and time when the Agent was last trained.
- Design button is the button that opens the Bot Builder of the Agent.
Editing Agent’s information
In order to edit the Agent’s information:
- Open the Agent’s settings;
- Click Edit;
- Introduce the necessary changes. The following information and options can be modified:
- Agent’s name;
- Agent’s description;
- Continue conversations option.
- Click Save.
The language of the NLU model can not be modified.
Deleting an Agent
To delete an Agent:
- Open the Agent’s settings;
- Click Remove;
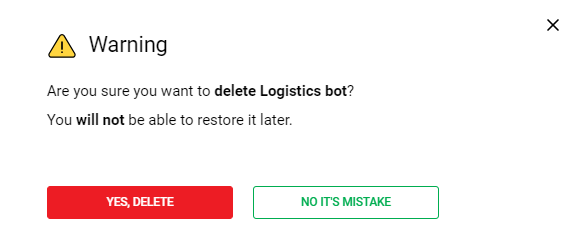
- Once you click it, a confirmation dialog box will appear:
- To confirm deleting the Agent, click Delete. The Agent will be deleted from the Platform.
- To cancel deleting the Agent, click Cancel.
Notes: Once deleting an Agent, the user will not be able to see its message history on the Analytics page.